

Before you make it · No. 26
Yaki onigiri from leftover rice
Leftover rice warmed, pressed firm into triangles, browned slowly, then brushed with soy at the end. Our recipe, assembled from named cooks. We have not cooked it.
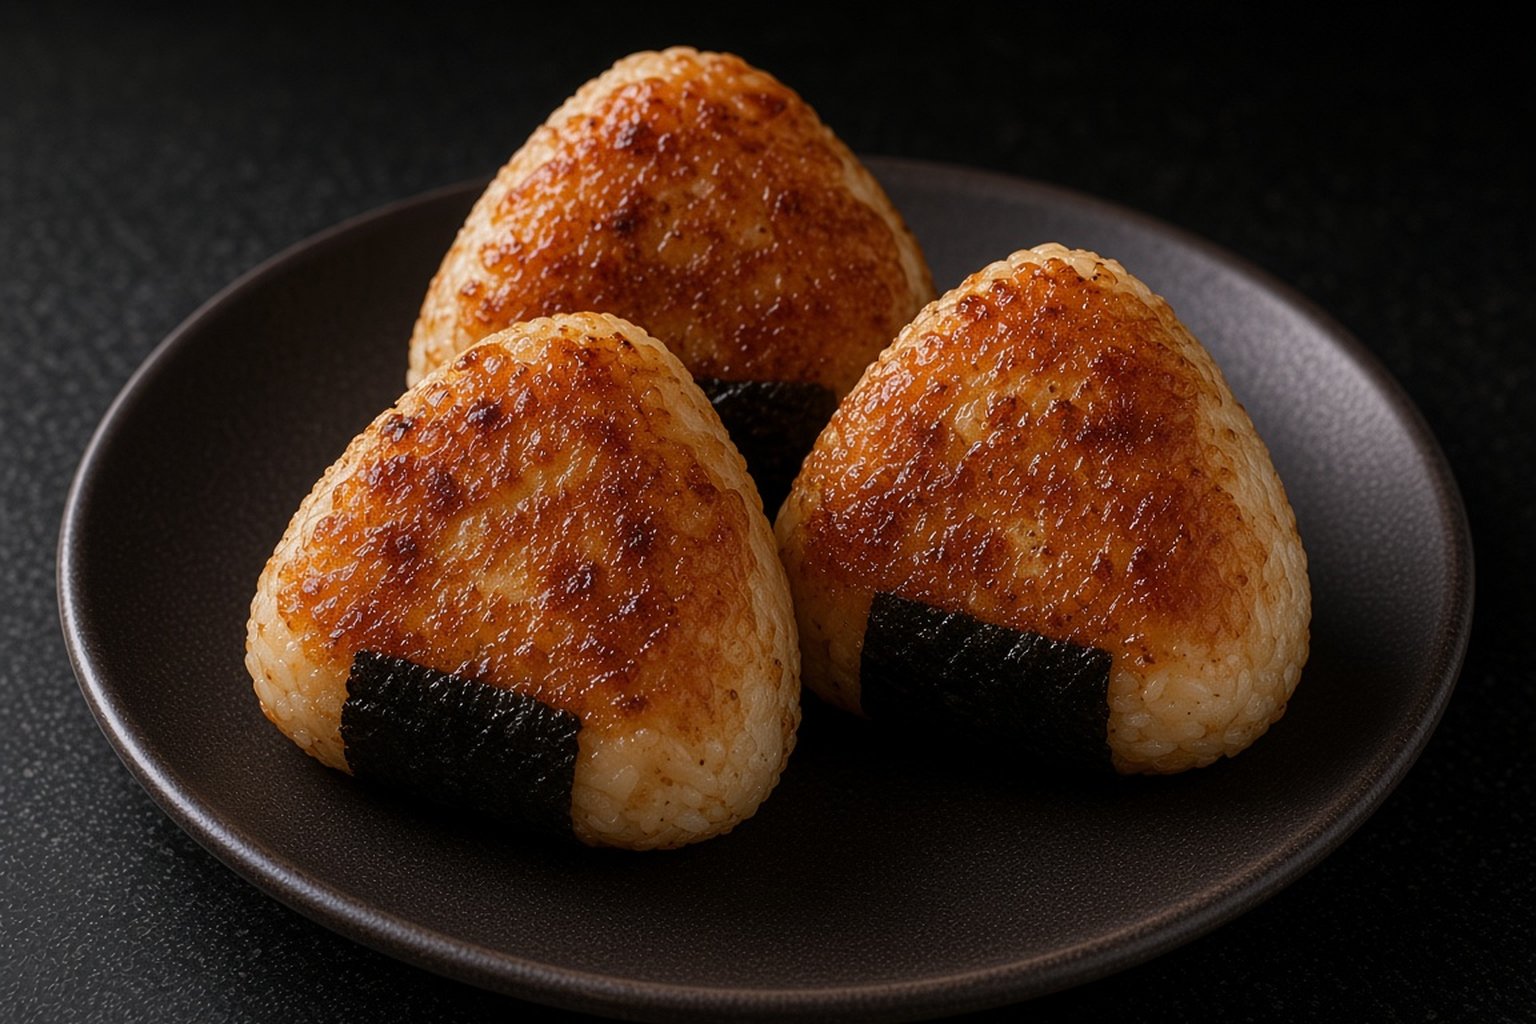
This is our yaki onigiri. We assembled it from the cooks linked at the bottom, and we checked their pages on November 16, 2026. We have not cooked it. Nothing below is a tasting or a test.
The rice is leftover rice, warmed again before shaping. Every card here shapes the rice while it is warm.
The recipe
Six rice balls, about 110 g each.
Rice balls
- 660 g (about 4 1/2 cups) cooked Japanese short-grain rice, leftover is fine
- 2 tablespoons soy sauce
- 1 tablespoon toasted white sesame seeds, optional
- a small bowl of water for your hands
To cook and glaze
- 1 to 2 teaspoons neutral oil
- 1 tablespoon soy sauce
- 1 teaspoon toasted sesame oil
- 1 tablespoon (14 g) unsalted butter, optional
- nori strips, to serve
A large nonstick frying pan works. A sheet of parchment cut to fit the pan also keeps the rice from sticking.
Method
- Warm the cold rice, covered, in the microwave until it is steaming and soft again. Spread it in a bowl and let it cool until you can hold a handful comfortably but it is still clearly warm, about 131°F (55°C) if you check.
- Sprinkle the 2 tablespoons of soy sauce and the sesame seeds over the rice. Fold them in with a paddle or spatula, cutting through the rice rather than stirring, until the color is even. Try not to mash the grains.
- Divide the rice into 6 portions, about 110 g each. Wet your hands. Cup one portion in one palm. Press the other hand over it in a bent, roof shape and squeeze firmly, turning the rice after each press to form a triangle with flat sides. Press harder than you would for an onigiri you plan to eat cold. Plastic wrap or a wet onigiri mold works too.
- Set the triangles on parchment and leave them for about 10 minutes, turning once, so the outside dries a little.
- Stir the 1 tablespoon of soy sauce and the sesame oil together for the glaze.
- Heat the pan over medium-low heat with a thin film of oil, or lay the parchment in the pan and brush it with oil. Set the rice balls in, flat side down, with space between them. Leave them alone until the underside is golden and crisp and lifts cleanly. On Marc Matsumoto’s card the first side takes 7 to 10 minutes at this heat. Turn each one with a spatula and brown the other flat side, then stand it on its edges to brown them, adding a little oil if the pan looks dry.
- Turn the heat to low. Brush the glaze on one side, turn that side down for a few seconds, then brush and turn the other side. Soy burns quickly once it is on, so move fast and stop once the glaze has darkened and dried.
- If you like, melt a little butter over each one in the pan at the end. Serve warm, with a strip of nori to hold.
Where cooks agree and differ
The pages agree on the basics: short-grain rice, packed firmly, browned slowly in a frying pan, and finished with soy or miso so the outside caramelizes. They differ on when the flavor goes in, how the surface is dried, and how hot the pan is.
The rice must be warm to shape. Namiko Hirasawa Chen writes that cooked rice has to be hot or warm for onigiri to hold their shape. Yuto Omura is the one who writes for leftovers: he reheats cold rice until it is steaming, then lets it cool to about 55°C (131°F). He writes that cold rice tends to crack and shed grains, and that piping-hot rice gets crushed and will not hold clean edges. Shihoko Ura cooks a fresh pot, and Marc Matsumoto seasons the rice once it has finished steaming. Our first step is Omura’s.
Seasoning the rice before shaping. Chen stirs soy sauce, sugar, sesame oil, and salt into her rice. Matsumoto folds in soy sauce alone. Omura adds sesame seeds and puts all his soy on the outside. Ura seasons only the outside. Our 2 tablespoons of soy is Chen’s ratio, 3 tablespoons for about 990 g of rice, scaled to 660 g, without her sugar.
The size and press. Chen’s rice balls are about 110 g and Omura’s about 120 g. Chen and Matsumoto both press them harder than an ordinary onigiri so they hold together in the pan, and Omura suggests a mold so you can pack them tightly. We used 110 g.
The dry surface. Omura air-dries the shaped rice about 5 minutes per side before it goes in the pan. Matsumoto dusts the flat sides with potato starch. Chen and Ura go straight to the pan. We kept Omura’s short rest. It needs nothing extra.
The heat. Chen and Matsumoto use medium-low and do not turn the rice until the underside is browned. Matsumoto’s first side takes 7 to 10 minutes. Chen’s miso version takes about 2 1/2 minutes per side on medium. Ura grills about a minute per side on medium in a cast-iron skillet before brushing. Omura brushes on the sauce first and fries 30 seconds to a minute per side. We used the slower, lower heat from Chen and Matsumoto, with Chen’s glaze added only at the end.
The glaze. Chen brushes 1 tablespoon of soy and 1 teaspoon of sesame oil on at low heat at the end. Omura mixes soy, mirin, sesame oil, miso, and garlic. Ura offers a miso, mirin, sake, and sugar paste with butter, or soy with butter. Chen’s miso version is miso, sugar, and mirin. We used Chen’s soy glaze. Matsumoto, Ura, and Omura all bring butter in somewhere, so it is optional here.
What to watch for
Wet your hands before every ball. Chen wets her fingers each time she touches the rice so it does not stick.
Do not flip too early. Chen says to wait until the bottom is browned and to handle the rice balls as little as possible, or they may break.
The glaze burns fast. Chen warns about it for soy and again, in capitals, for miso. Brush it on at the very end, at low heat.
Storage is Chen’s. She wraps each one and freezes it up to a month. She says the fridge makes rice hard and dry, so if you must refrigerate, she wraps them in a thick towel and keeps them up to 2 days. Omura does not recommend the fridge for texture, and gives up to 24 hours in an airtight container if you must. For general guidance on leftovers, see the USDA’s Leftovers and Food Safety, last updated July 31, 2020. That page is their guidance. We are not reading it as a clearance for this recipe.