
Guides · Frying
Fried chicken:
crunch you can hear.
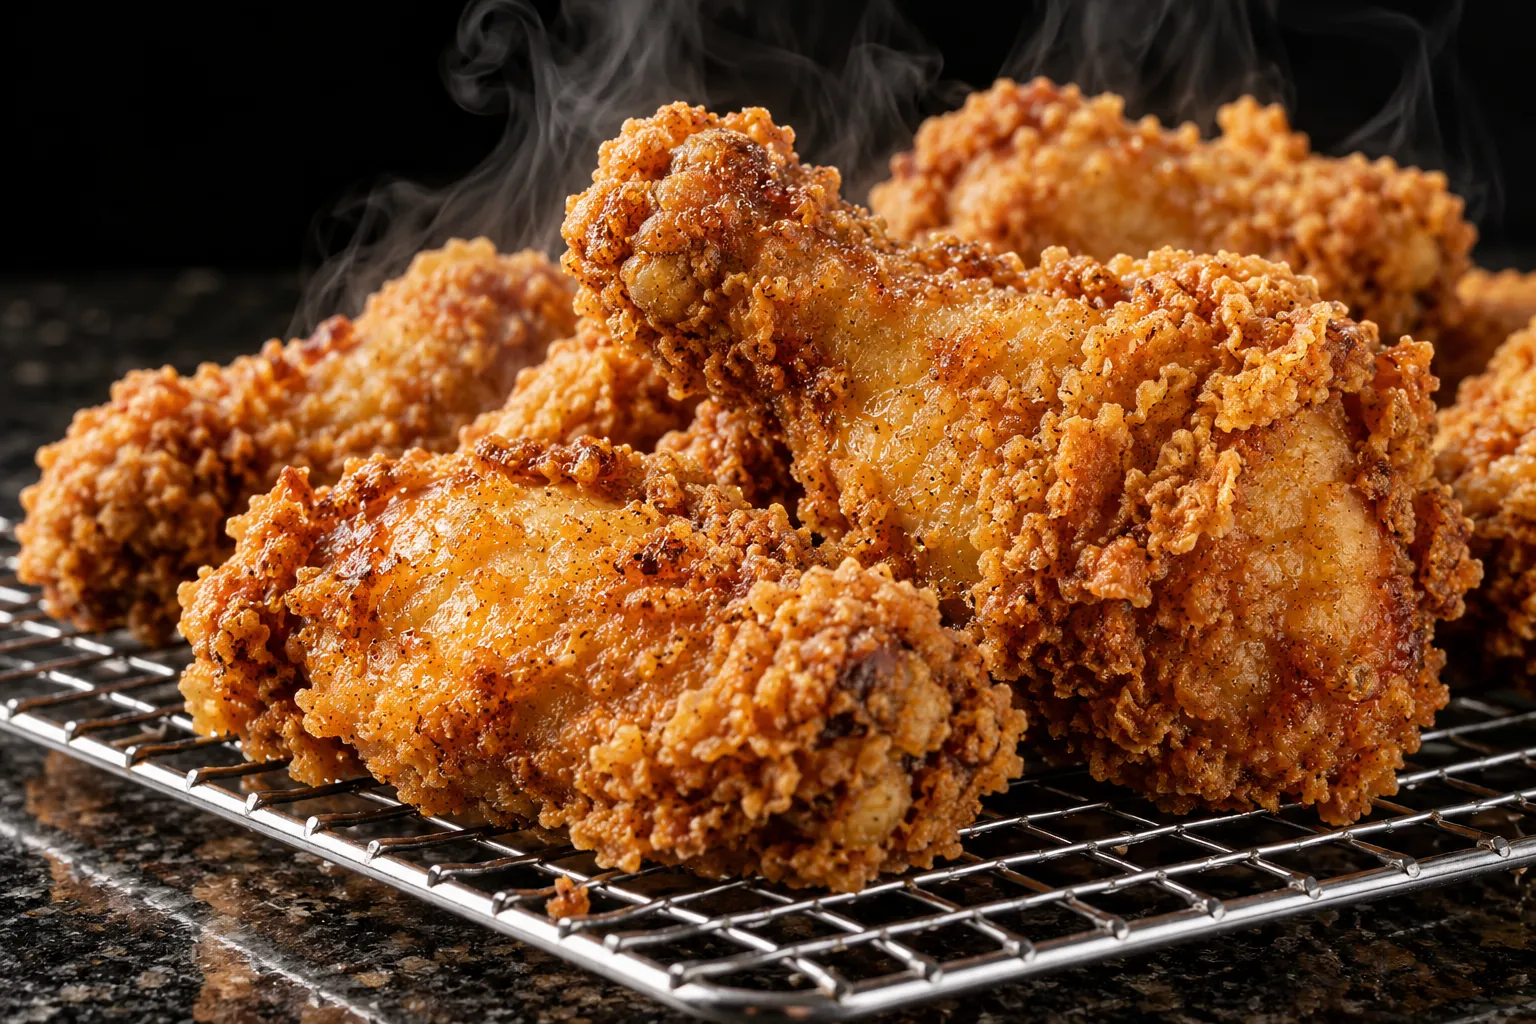
Brine for juice, rub the flour shaggy, give the coating a rest, fry in a deep pot and drain on a rack. Every step, with the numbers from the cooks who tested them.
01
Brine first, for juice and seasoning
Salt changes the meat's protein structure so it holds on to more water. In fried chicken, a brine seasons the meat all the way through and keeps it juicy even after a blast of hot oil.
How long depends on how salty the brine is, so follow your recipe's time. Here's how three America's Test Kitchen recipes compare.
- Ultimate Crispy2–3 hours
- Easier Fried Chicken1 hour to overnight
- Supercrunchy Buttermilk2–24 hours
"Easier" brines anywhere from 1 hour to overnight, shown here as 12 hours.
02
Make the flour shaggy
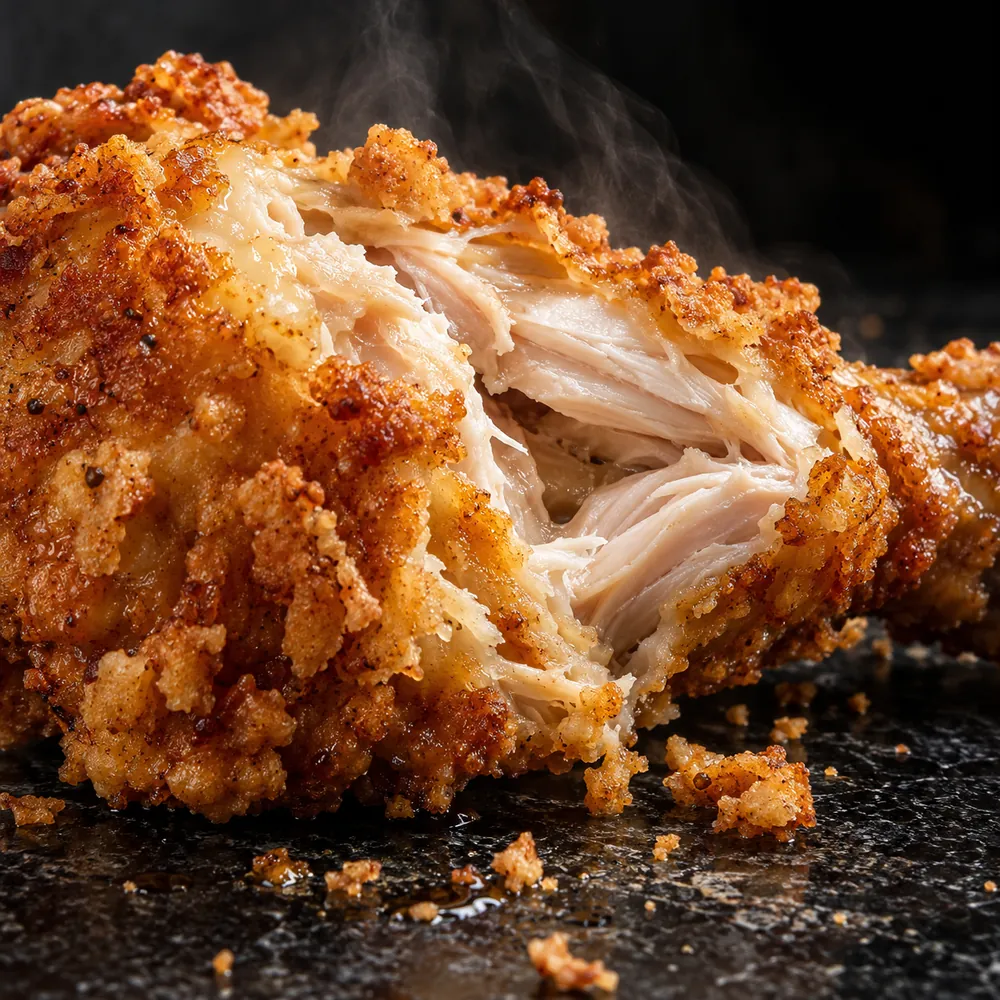
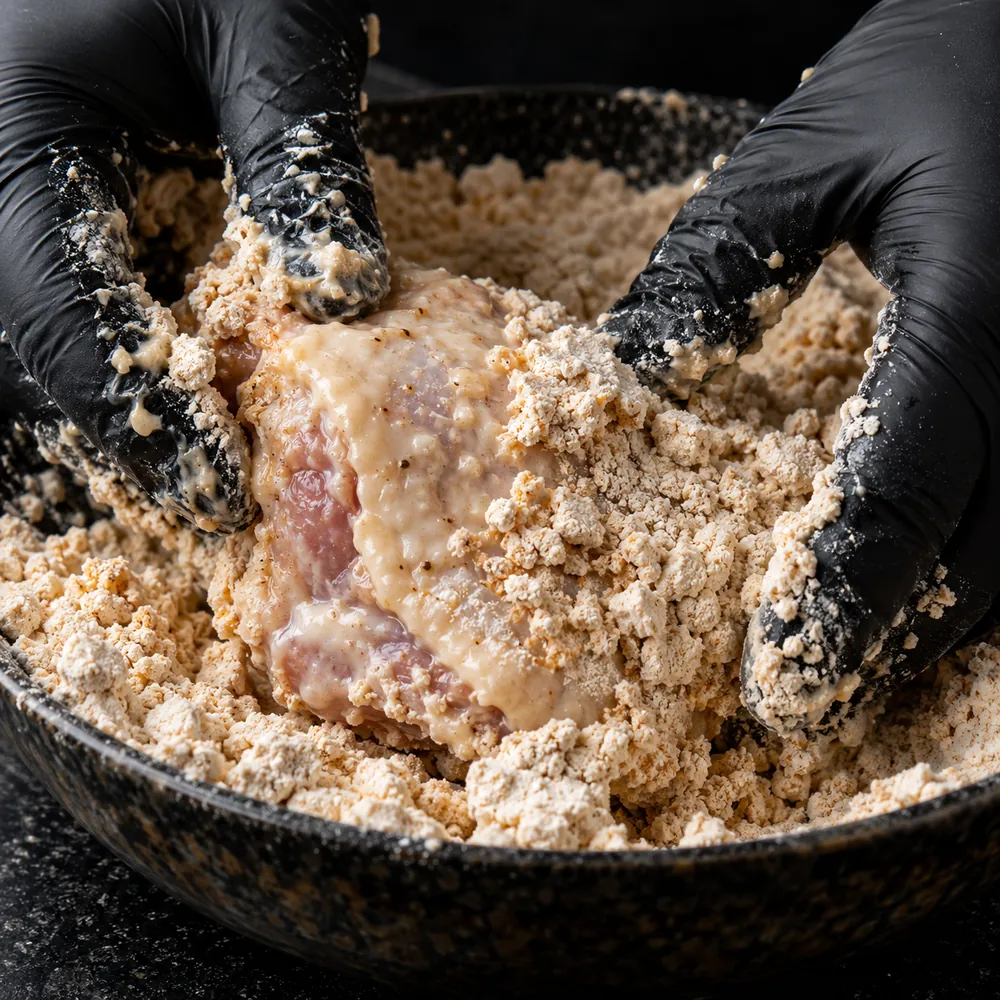
The craggy bits are the crunch. Cook's Country rubs a little buttermilk into the seasoned flour with its fingers until clumps form all through it. ATK's Supercrunchy recipe leans on cornstarch, 2 cups to 1 cup of flour, and its moistened clumps fry up craggy and crunchy.
Smooth flour. Nothing to grab onto yet.
03
Let the coating settle
Cook's Country refrigerates the dredged chicken uncovered for at least 1 hour and up to 2 before frying. America's Test Kitchen found its resting period keeps the meat moist and improves the crust.
04
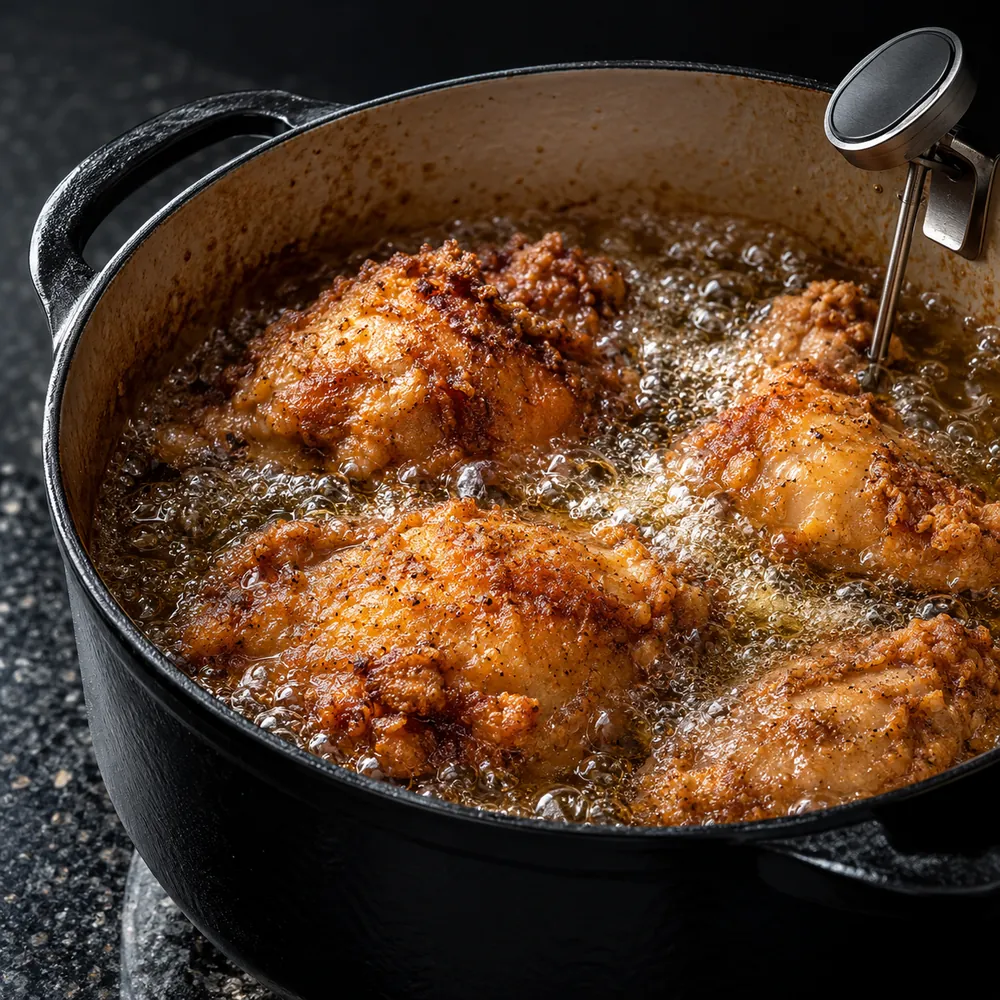
A deep pot and a thermometer
Peanut oil is America's Test Kitchen's pick because it tastes clean even after several batches. A Dutch oven's tall sides keep the splatter down. USDA says to leave at least 2 inches between the oil and the rim.
Temperatures vary a lot from recipe to recipe. The oil starts hot and drops when the chicken goes in. Pick one recipe and follow its numbers.
340°F to start
Then hold 305–315°F · 10–18 min
350°F to start
Then hold about 300°F · 10 min covered, then 7–9 more
375°F to start
Then hold about 325°F · 6–8 min a side
375°F to start
Then hold 375°F · 13–20 min for pieces
05
Fry, then check it out of the oil
USDA lists 165°F as the safe minimum for poultry. Take the temperature out of the oil, never while the piece is still submerged. Pat chicken dry before it goes in: water hitting oil near 350°F turns to steam instantly and spits.
Some recipes, including ATK's Supercrunchy, pull the chicken a little early and let it finish cooking as it rests. If you do that, follow the recipe exactly, and check against the official line.
06
Drain on a rack, not a plate
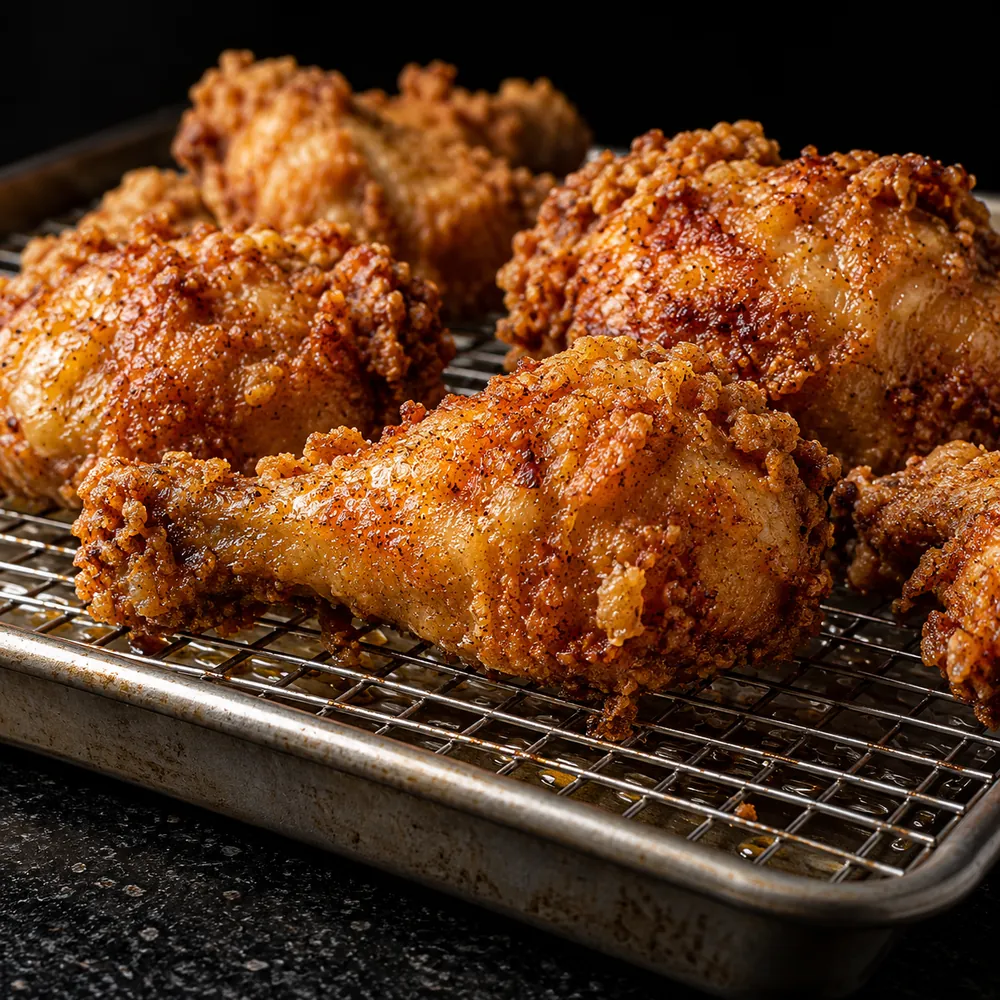
A wire rack lets air circulate under the chicken, so the bottom doesn't steam itself soggy. Put paper towels under the rack, not under the chicken. Keep finished batches crisp on the rack in a 200°F oven while you fry the rest.
Want it crunchier still? Fry it twice. During the rest between fries, more water evaporates from the skin, so the second fry browns it fast before the meat overcooks.
Air flows underneath. The bottom stays crisp.